What is DIY False Eyelash Extension?
DIY (Do It Yourself) false eyelash extensions refer to the process of applying false eyelashes at home without the assistance of a professional lash technician. This approach allows individuals to achieve the look of longer, fuller lashes on their own, without the need for a salon visit.
Here's a breakdown of what DIY false eyelash extensions involve:
Materials Needed:
False eyelashes (strip lashes or individual lash clusters)
Eyelash adhesive (glue)
Tweezers or lash applicator tool
Small scissors (for trimming, if necessary)
Makeup remover (for cleanup)
Optional: mascara, eyelash curler, eyeliner
Process:
Preparation:
Start with clean, makeup-free eyelids and lashes. If desired, curl your natural lashes with an eyelash curler before applying false lashes.
Choosing False Lashes:
Decide whether you want to use strip lashes (a full band of lashes applied along the lash line) or individual lash clusters (small groups of lashes that are applied between your natural lashes for a more natural look).
Trimming (if needed):
Measure the false lashes against your eyelid and trim them from the outer edge to fit your eye shape. Trim strip lashes from the outer edge, and trim individual clusters to your desired length.
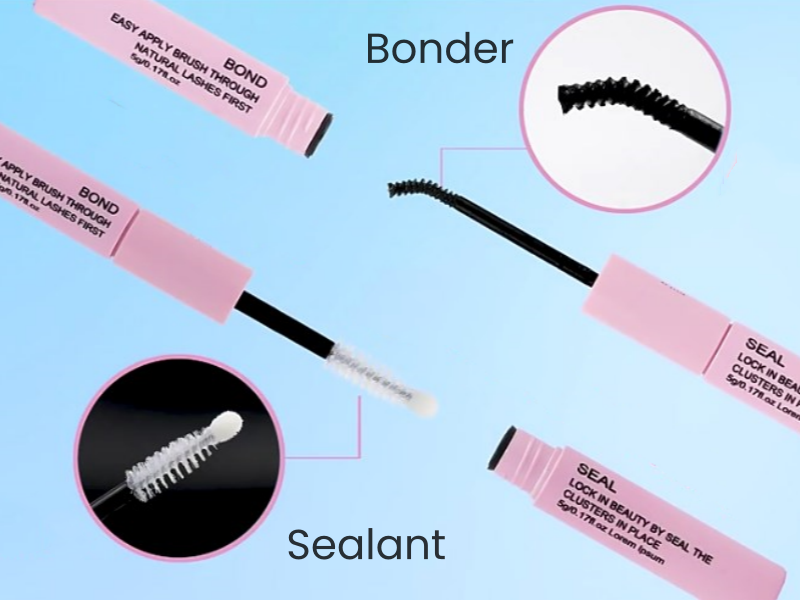
Applying Adhesive:
Apply a thin, even layer of eyelash adhesive along the base of the false lashes. Allow the adhesive to become tacky for a few seconds before proceeding.
Placement:
Use tweezers or a lash applicator tool to carefully place the false lashes as close to your natural lash line as possible. Press down gently to secure them in place.
Adjustment and Blending:
Use the tweezers to adjust the position of the false lashes if needed. Blend the false lashes with your natural lashes by pressing them together.
Optional Steps:
If using strip lashes, you can apply a thin line of eyeliner along the lash line to conceal the lash band.
Apply mascara to help blend your natural lashes with the false lashes. Use caution not to overdo it, as it may cause clumping.
Removal:
To remove the false lashes, gently peel them off starting from the outer corner. If you used adhesive that is meant to be removed with water, you can use a cotton swab and warm water to soften the adhesive before gently pulling off the lashes.
Cleaning and Storing:
Clean any leftover adhesive from the false lashes using makeup remover. Store the false lashes in their original packaging or a clean container to maintain their shape for future use.
DIY false eyelash extensions offer a more budget-friendly option for achieving the appearance of longer and fuller lashes. While this process can be done at home, it's important to practice caution, take your time, and follow proper hygiene practices to avoid any discomfort or damage to your natural lashes.
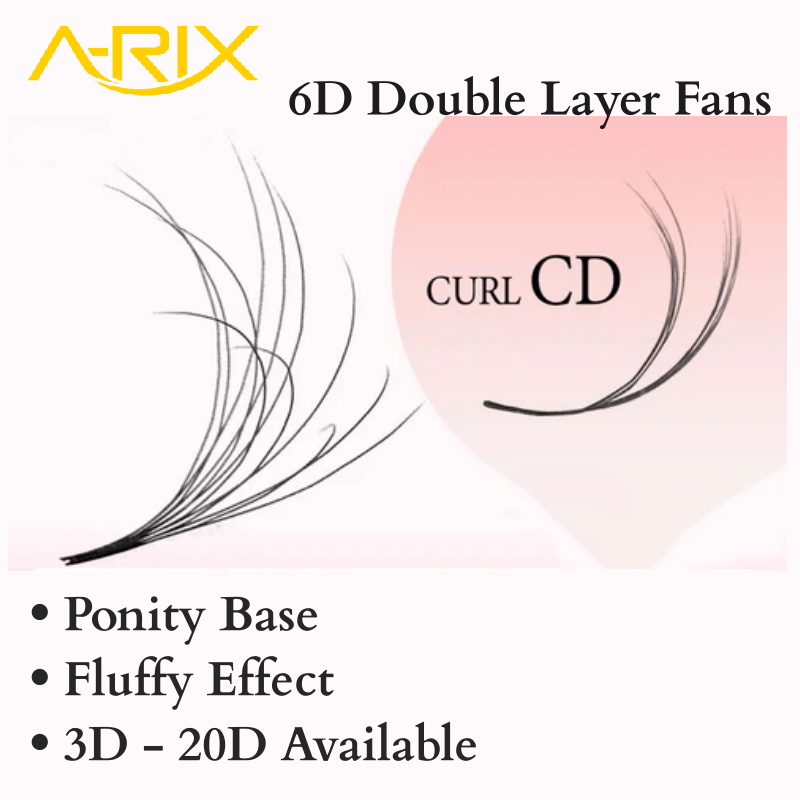
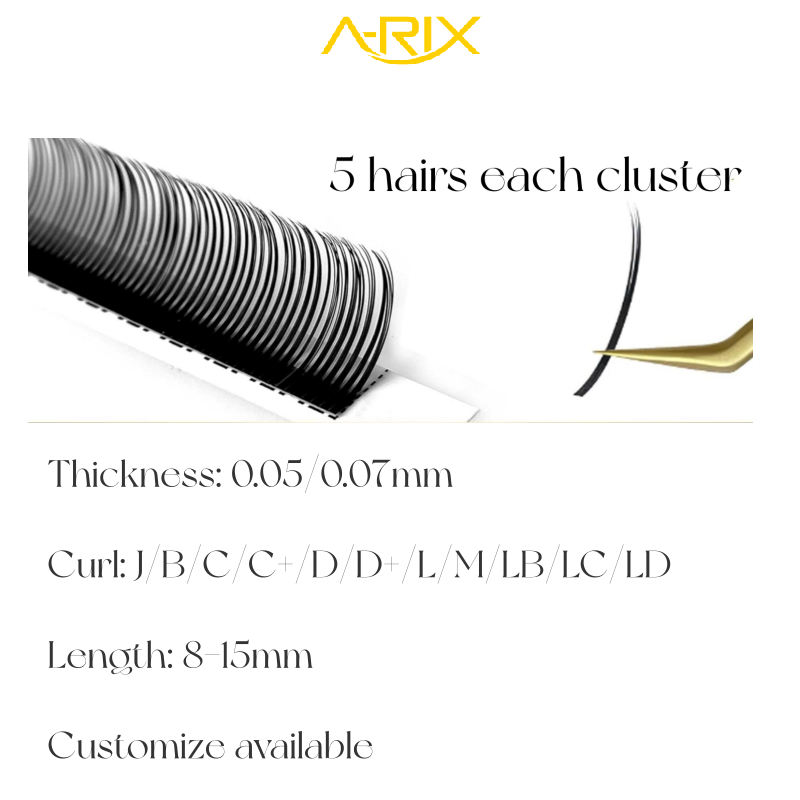
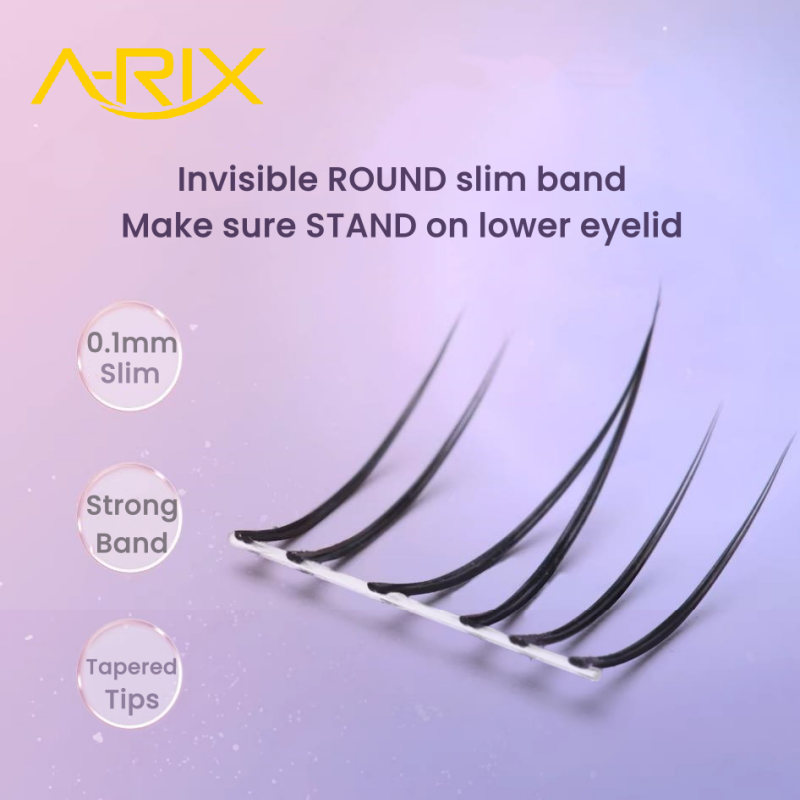
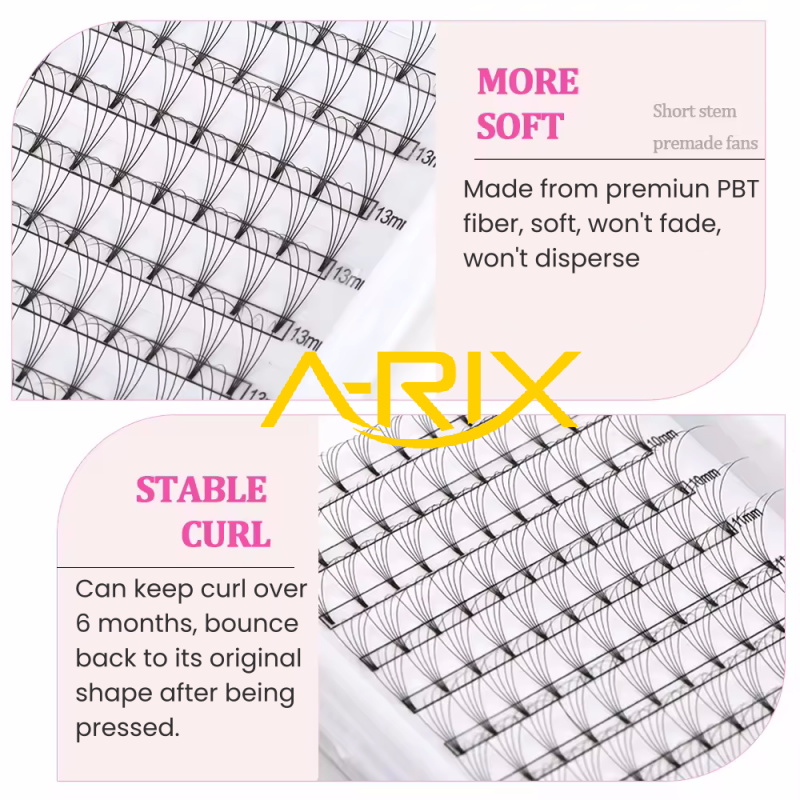
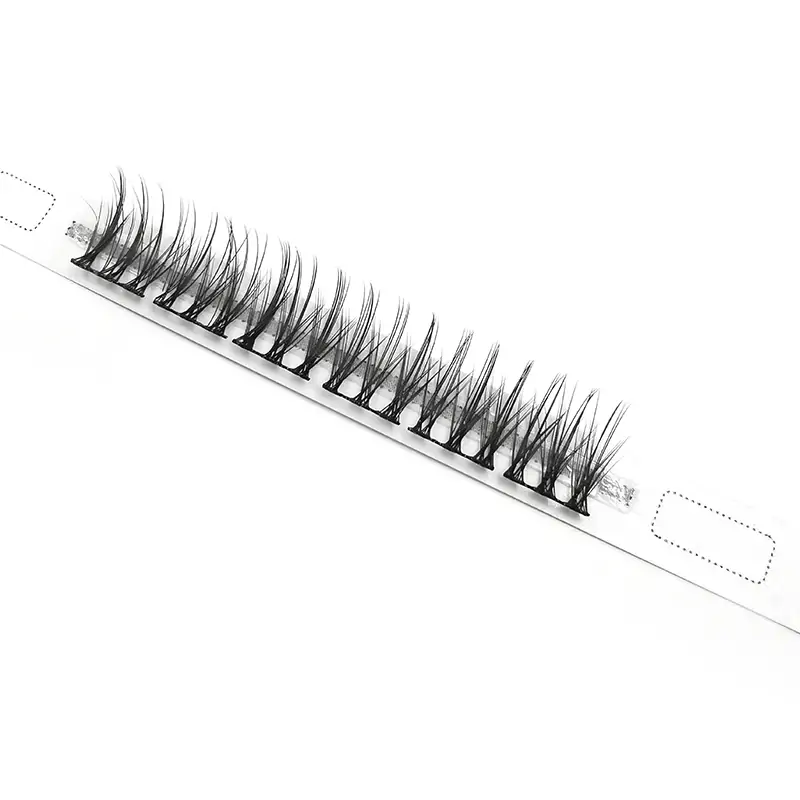
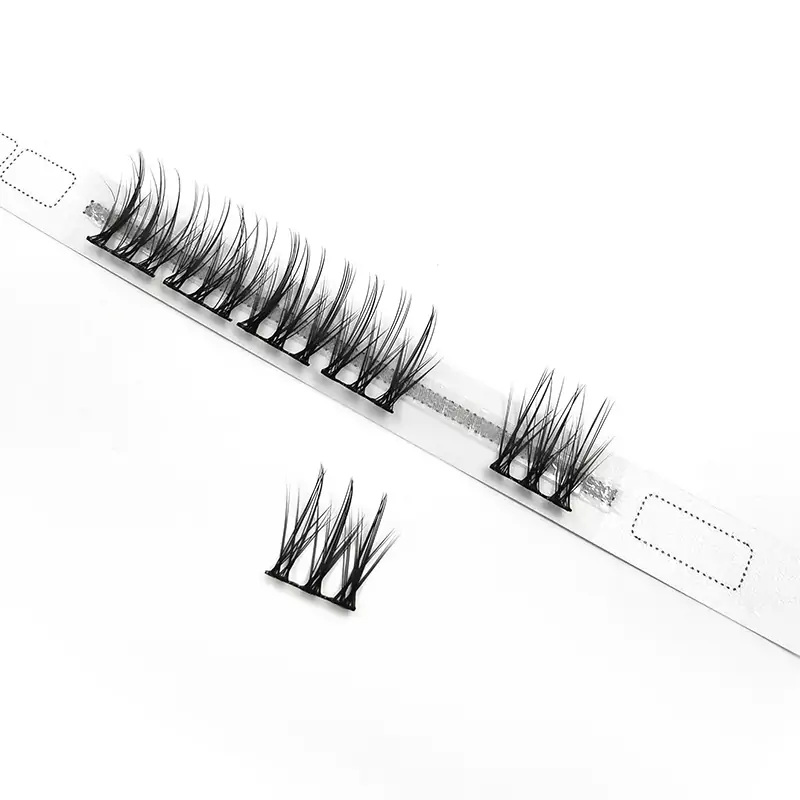
DIY lash extensions manga style

This is another style, there are 3 pcs on one cluster. As for the lash we use the premium silk material, and it is very softer, and comfortable. We use the cotton material on the lash band, and you can use several times. We use the new techinique, the band is so thinnest, you will feel zero touch and hold for longer time.
DIY Wear Process:
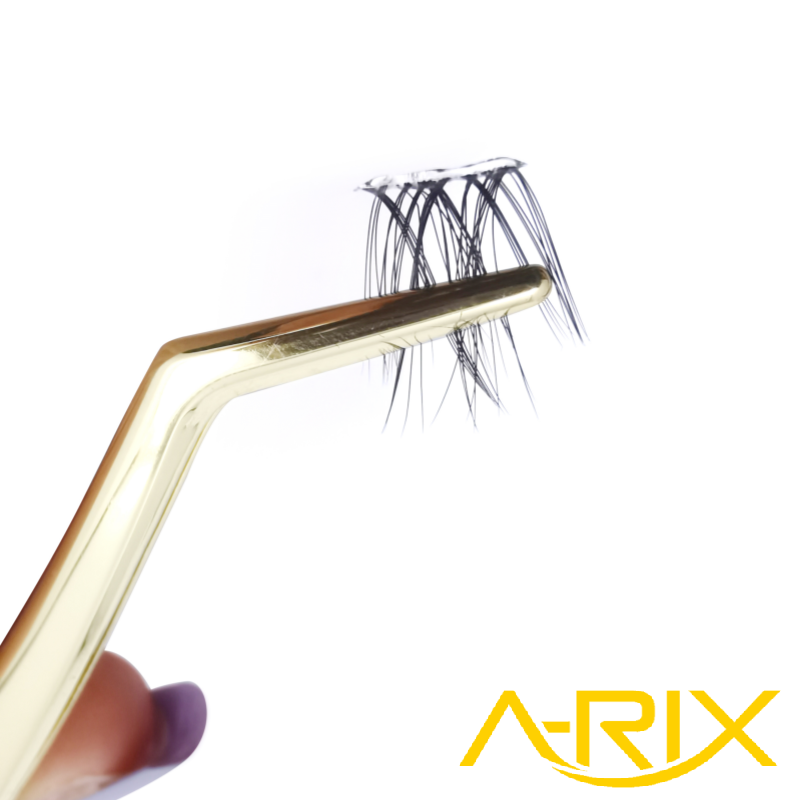
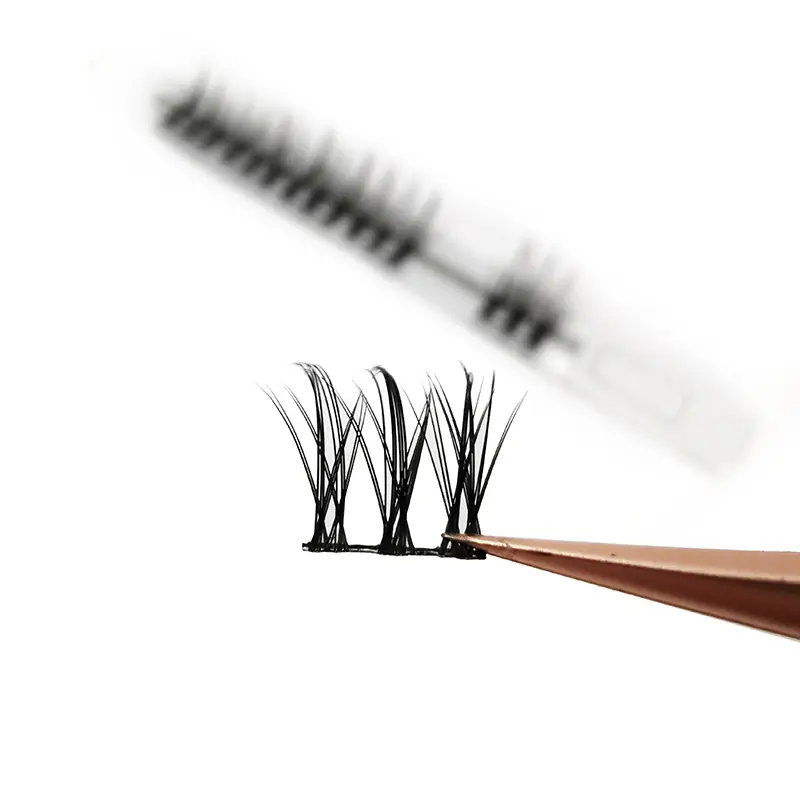
1. Curl your natural eyelashes 2. Hold the lash band with tweezers 3. Apply lash glue on lash band and wait for the glue to dry and become clear 4. Place 1-2mm above or below your lash line.
DIY lash Usage Information:

1. Use lash curler to curl your lash firstly, make it upside.
2. Clip the lash from the base. That will be easy to get it, if you clip the hair, the lash are easy to be
broken.
3. Apply glue on the lash band, you can use our super strong glue. And wait a few seconds,
the glue will be very strong.
4. Then apply lash on.
DIY False Eyelash Extension Convenient Wear
Creating DIY false eyelash extensions for convenient wear can be a fun and budget-friendly way to enhance your eye makeup. Here's a step-by-step guide to help you achieve convenient and comfortable DIY false eyelash extensions:
Materials Needed:
Strip false eyelashes or individual lash clusters
Eyelash adhesive (clear or black)
Small pair of tweezers or lash applicator tool
Small scissors (if needed)
Eyelash curler (optional)
Mascara (optional)
Makeup remover (for cleanup)
Steps:
Prepare Your Natural Lashes:
Start with clean, makeup-free lashes. If desired, you can curl your natural lashes using an eyelash curler for an added lift.
Choose Your Lashes:
Decide whether you want to use strip false lashes or individual lash clusters. Strip lashes provide a quick application, while individual clusters offer a more customizable look.
Trim and Fit:
If using strip lashes, hold the lash strip against your eyelid to measure the fit. Trim any excess from the outer corners if necessary. For individual clusters, choose the lengths you want to use.
Apply Adhesive:
Apply a thin layer of eyelash adhesive along the lash band of strip lashes or to the base of individual clusters. Wait a few seconds for the adhesive to become tacky.
Placement:
Using tweezers or a lash applicator tool, carefully place the strip lash along your natural lash line, starting from the inner corner and pressing gently along the entire band. For individual clusters, dip the base of each cluster in adhesive and apply them directly onto your natural lashes, focusing on the outer corners for a natural look.
Adjustment and Pressing:
Adjust the placement of the lashes as needed using the tweezers. Gently press the false lashes onto your natural lashes to ensure a secure bond.
Optional: Mascara and Blending:
If desired, you can apply a coat of mascara to your natural lashes to help blend them with the false lashes. Be cautious not to overdo it, as it may make the false lashes clump together.
Final Touches:
Once the adhesive has dried, check for any gaps or lifting. Gently press down any loose ends or edges. If using strip lashes, you can use eyeliner to conceal the lash band.
Removal:
To remove the false lashes, gently peel them off starting from the outer corner. Use an oil-free makeup remover to dissolve any remaining adhesive.
Clean and Store:
Clean any leftover adhesive from the lash band (for strip lashes) using a cotton swab and makeup remover. Store your false lashes in their original packaging or a clean container to maintain their shape.
Remember, practice makes perfect. Don't be discouraged if your first attempt isn't flawless. With time and practice, you'll become more skilled at applying false eyelash extensions for convenient wear.
FAQ
1. What are DIY False Eyelash Extensions for Convenient Wear?
DIY False Eyelash Extensions for convenient wear refer to the process of applying false eyelashes at home to achieve longer and fuller lashes for everyday use without the need for professional assistance.
2. Are DIY False Eyelash Extensions Easy to Apply?
With practice, DIY false eyelash extensions can become easier to apply. It may take some time to develop the necessary skills, but many people find it manageable with patience.
3. What Types of False Eyelashes Can I Use for Convenient Wear?
You can use either strip false eyelashes (full band) or individual lash clusters. Choose the type that suits your preferences and desired look.
4. What Kind of Adhesive Should I Use?
Use a high-quality eyelash adhesive (glue) that is safe for skin and eyes. Adhesives are available in clear and black varieties.
5. How Do I Apply the Adhesive?
Apply a thin layer of adhesive along the lash band of strip lashes or to the base of individual clusters. Wait for a few seconds until the adhesive becomes tacky before placing the lashes.
6. How Do I Choose the Right Lash Style for Everyday Wear?
Opt for natural or medium-length lashes that enhance your eyes without looking overly dramatic. Consider your eye shape and personal preferences.
7. Can I Reuse False Eyelashes?
Yes, you can reuse false eyelashes if you remove them carefully and clean any adhesive residue. Proper care and storage can extend the life of your lashes.
8. How Do I Remove False Eyelashes Safely?
Gently peel off the lashes starting from the outer corner. If you used adhesive meant to be removed with water, you can use a cotton swab and warm water to soften the adhesive before removal.
9. Are There Any Risks to DIY False Eyelash Extensions?
When done properly, DIY false eyelash extensions are generally safe. However, improper application, use of low-quality adhesive, or allergic reactions could pose risks. Perform a patch test if you're concerned about allergies.
10. How Can I Ensure Comfortable Wear?
Trim false lashes to fit your eye shape, apply the adhesive thinly, and press the lashes securely onto your natural lashes. Avoid applying too close to your waterline to prevent irritation.
11. Can I Wear Makeup with False Eyelash Extensions?
Yes, you can wear makeup with false eyelash extensions, but be cautious with oil-based products and heavy makeup around the eye area.
12. What's the Best Way to Clean and Store False Eyelashes?
Gently remove adhesive residue, clean with makeup remover, and store in their original packaging or a clean container to maintain their shape and integrity.