Eyelash extensions have become increasingly popular in recent years, with many women seeking longer and fuller lashes to enhance their natural beauty. However, professional lash extensions can be quite expensive, and not everyone can afford to have them done regularly. Fortunately, with some practice and patience, it's possible to achieve a similar look with DIY eyelash extensions.

Before getting started, it's important to note that DIY eyelash extensions require a significant amount of time and effort, and the process can be quite tricky,DIY eyelash extensions at home. If you're not confident in your abilities, it may be best to leave it to the professionals.
Here's what you'll need:
Eyelash extensions (these can be purchased online or at a beauty supply store)
Eyelash adhesive
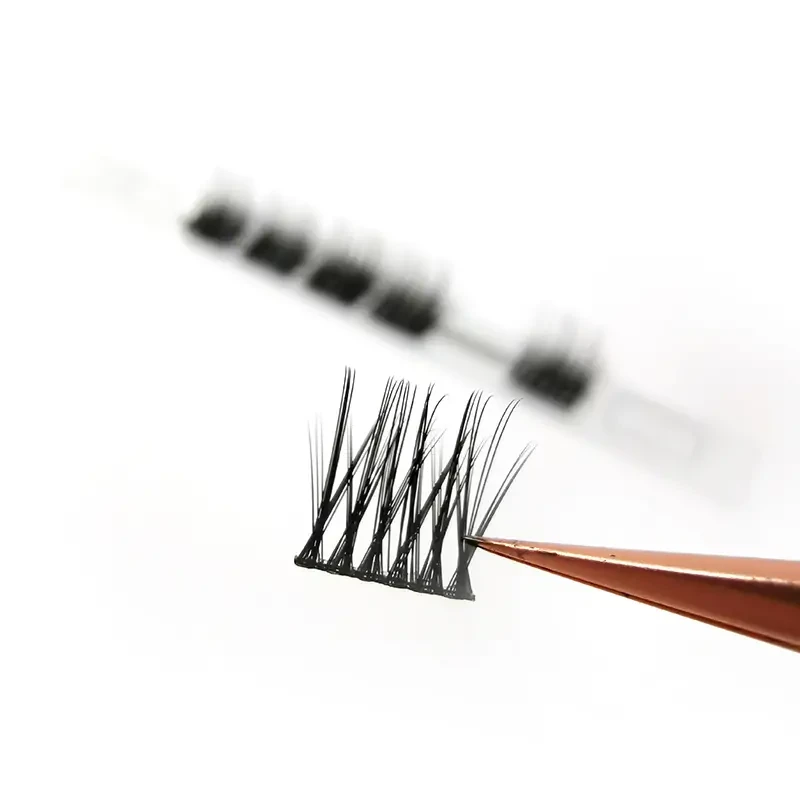
Tweezers
Mascara brush
Scissors
Mirror

Step 1: Prepare your natural lashes
Start by cleaning your lashes thoroughly with a mild cleanser and then drying them completely. It's also a good idea to brush them with a mascara wand to separate and straighten them.
Step 2: Choose your lashes
Eyelash extensions come in various lengths and thicknesses, so it's important to choose the right ones for your natural lashes. Generally, you should opt for lashes that are no longer than your natural lashes and no thicker than double the width of your natural lashes.
Step 3: Apply adhesive to the lashes
Using a small amount of eyelash adhesive, apply it to the base of the lash extension. Be sure to apply the adhesive sparingly, as too much can cause clumping or irritation. Wait a few seconds for the adhesive to become tacky before moving on to the next step.
Step 4: Apply the lashes
Using your tweezers, gently pick up the lash extension by the base and place it on your natural lash, as close to the root as possible. Hold the extension in place for a few seconds to allow the adhesive to bond.
Repeat this process, working from the outer corner of your eye inwards, until you've applied extensions to all of your natural lashes.
Step 5: Trim the lashes
Once you've applied all of the extensions, use scissors to trim any extensions that are too long or uneven. It's important to be careful when trimming, as you don't want to accidentally cut your natural lashes.
Step 6: Allow the adhesive to dry
Wait for the adhesive to dry completely before moving on to the next step. This can take anywhere from a few minutes to half an hour, depending on the adhesive you're using.
Step 7: Apply mascara (optional)
If desired, you can apply mascara to your lashes to help blend the extensions with your natural lashes. Use a clean mascara brush to apply the mascara evenly, and be careful not to apply too much, as this can cause clumping.
In conclusion, DIY eyelash extensions can be a cost-effective way to achieve longer and fuller lashes, but it does require practice and patience. Make sure to take your time and be gentle with your natural lashes during the application process. If you're not confident in your abilities, it's always best to seek the help of a professional.
DIY eyelash extensions at home is a very professional job that requires patience and meticulousness. If you feel that you are not competent, you should seek professional help.