Required tools and materials
First, let's go over the tools and materials you'll need:
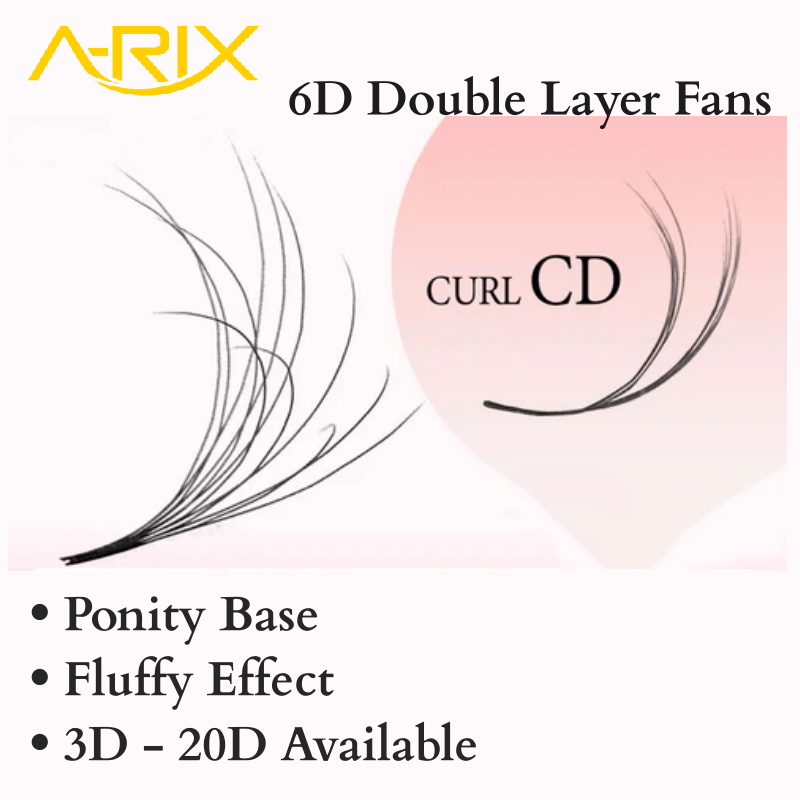
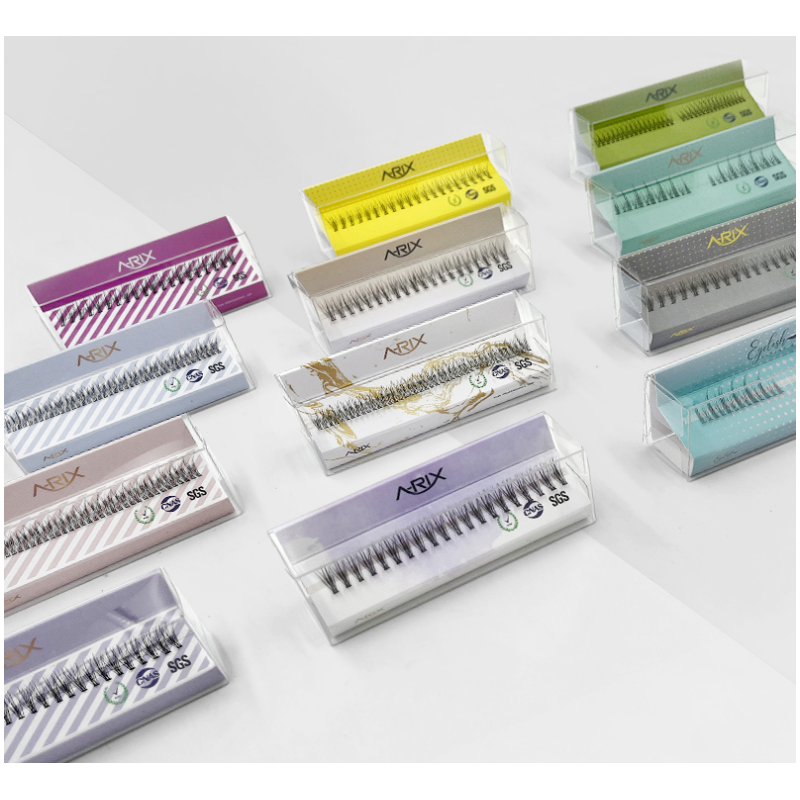
Single Lash Extensions: This is a small bundle of lashes, usually containing 10 to 20 individual lashes, that sticks easily to your lashes.
Lash glue: The special glue used to glue individual lashes to your lashes. Make sure to choose a good quality glue to avoid allergies or problems with falling.
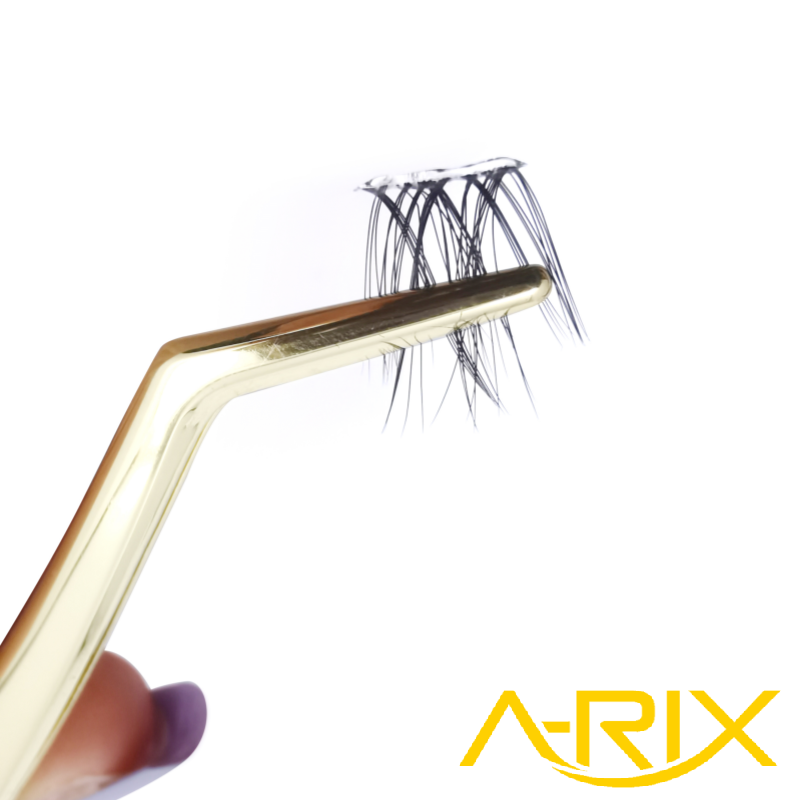
Tweezers: A tool used to glue individual lashes to your lashes. Fine-tipped tweezers are very helpful for more precision.
Lash Comb: Use to comb through your lashes to make sure they are evenly distributed and free from clumps.
Mirror: It's best to use a magnifying glass or a magnifying mirror to make sure you can see your lashes clearly.
Makeup Remover: For easy removal of lash extensions when needed.
Steps
Now, let’s take a look at how to do personal eyelash extensions at home:
Getting Ready: Make sure your lashes are clean and free of makeup residue. Gently cleanse your lashes with makeup remover, then apply a mascara primer, which will help individual lashes adhere better.
Choose the right eyelash extension for you: choose the right length and density according to the effect you want and the natural state of your lashes. Go for shorter and thinner strands if you want a more natural look, or longer and bushier strands if you prefer a dramatic effect.
Apply Glue: Use tweezers to remove individual lashes from their packaging and lightly apply glue. Make sure you apply just the right amount of glue and don't use too much to avoid sticking issues.
Attach lashes: Use tweezers to attach individual lashes to your natural lashes, close to the root of the lash. Try to keep individual lashes parallel to your natural lashes, not perpendicular.
Trimming and Combing: After adhering, use the lash comb to gently comb through your lashes to ensure they are evenly distributed and clump-free.
Repeat steps: Continue to attach single lashes to natural lashes according to the effect you want, until you are satisfied.
Apply mascara primer and mascara: Finally, after your lash extensions are complete, you can apply mascara primer and mascara to further enhance your lashes.
Cleansing and maintenance
Gently remove eyelash extensions every night with a makeup remover to ensure your lashes and eye area stay clean. The following are detailed steps and precautions.
Step 1: Preparations
First, make sure your hands and work area are clean. You will need the following tools and materials:
Oil-Free Eye Makeup Remover
Cosmetic pads or swabs
Mirror
warm water
Step 2: Pour Makeup Remover
Pour a generous amount of oil-free eye makeup remover onto a cotton pad. You don't need to use much, just enough to moisten the remover pads to ensure effective removal of eyelash extensions.
Step 3: Prepare the Mirror
Make sure to have a magnifying glass or magnifying mirror so you can clearly see your lash extensions.
Step 4: Gently remove makeup
Now, gently close your eyes and gently place the moistened makeup remover pad over your lash extensions. Be extremely careful not to rub or pull too hard. Allow the makeup remover to penetrate and soften the glue on the lash extensions.
Step 5: Wait for a moment
Wait for the remover to work on your lash extensions, which usually takes about 30 seconds to a minute. This will help loosen the glue and make the eyelash extensions easier to remove.
Step 6: Gently Remove
After the remover has taken effect, use a cotton pad or swab to remove the lash extensions by gently sliding them from the base of the lash extensions to the tips. Just be careful not to tug too hard to avoid damaging your natural lashes.
Step 7: Cleaning
Once the lash extensions are removed, rinse your eyes and lashes with warm water to ensure the remover and any residue is removed.
Step 8: Gently Comb
Finally, use a lash comb to gently comb through your natural lashes to make sure they are free from clumps and messes.
Precautions
Avoid using oil-based makeup removers, as they may break down the eyelash extension glue and cause the lashes to fall out prematurely.
Be very gentle when removing makeup, do not tug or brush the lash extensions too hard.
If you're not sure how to properly remove eyelash extensions, it's advisable to seek professional help to avoid damaging your natural lashes.
By gently removing eyelash extensions every night with a makeup remover, you can ensure your lashes and eye area stay clean while helping your lash extensions last longer.
Personal lash extensions take some practice, but once you get the hang of it, you'll be able to easily achieve stunning lash results at home. Remember, be patient and work with care to ensure your lashes look natural and beautiful. So why not give it a try and give your eyes extra sparkle with DIY personal eyelash extensions at home?
FAQ
Q1: What are individual lash extensions, and how are they different from traditional strip lashes?
A1: Individual lash extensions are small clusters or single lashes that are applied directly to your natural lashes, creating a more natural and customizable look. They differ from traditional strip lashes, which are a single strip of lashes that are applied to your eyelids.
Q2: Can I apply individual lash extensions at home myself, or do I need professional training?
A2: While it is possible to apply individual lash extensions at home, it does require some practice and skill. You don't necessarily need professional training, but you should start with caution, follow instructions carefully, and practice to achieve the desired results.
Q3: What tools and materials do I need for DIY individual lash extensions at home?
A3: To apply individual lash extensions at home, you will need individual lash extension clusters, lash glue, tweezers, an eyelash comb, a magnifying mirror, and makeup remover for potential mistakes.
Q4: How long do individual lash extensions last?
A4: Individual lash extensions can last anywhere from 2 to 6 weeks, depending on how well you care for them and the adhesive used. Lashes will naturally shed over time, so you may need touch-ups or replacements to maintain the fullness of your lashes.
Q5: Are individual lash extensions safe for my natural lashes?
A5: When applied correctly and with proper care, individual lash extensions are generally safe for your natural lashes. However, using the wrong adhesive or applying them improperly can damage your natural lashes, so it's crucial to follow instructions carefully.
Q6: How do I remove individual lash extensions at home?
A6: You can remove individual lash extensions at home by using an oil-free makeup remover or a lash extension removal gel. Apply the product to your lashes and gently rub with a cotton pad or swab until the extensions loosen and fall off. Be patient and avoid pulling or tugging to prevent damage to your natural lashes.
Q7: Can I wear mascara with individual lash extensions?
A7: While it's not necessary to wear mascara with individual lash extensions, you can use a mascara specifically designed for use with lash extensions if you desire more dramatic lashes. However, avoid using regular mascara, as it can damage the extensions and make them clump together.
Q8: Are there any precautions I should take when applying individual lash extensions at home?
A8: Yes, here are some precautions to keep in mind:
Ensure your hands and tools are clean.
Work in a well-lit area with a steady hand.
Be patient and take your time during the application.
Avoid getting adhesive in your eyes.
If you experience any discomfort or irritation, remove the extensions immediately.
If you're new to lash extensions, consider practicing on a mannequin head before applying them to your own lashes.
Q9: Can I swim or shower with individual lash extensions?
A9: While individual lash extensions are water-resistant, it's best to avoid prolonged exposure to water, such as swimming or hot showers, for the first 24-48 hours after application. After that initial period, you can swim and shower, but avoid excessive rubbing or exposure to steam.