Embark on a journey of self-expression and creativity with the artful craft of DIY individual ribbon lashes. In this comprehensive guide, we'll explore the steps and techniques to design and create your personalized ribbon lash extensions, allowing you to elevate your eye game with a touch of glamour that's uniquely yours.
Understanding individual ribbon lashes
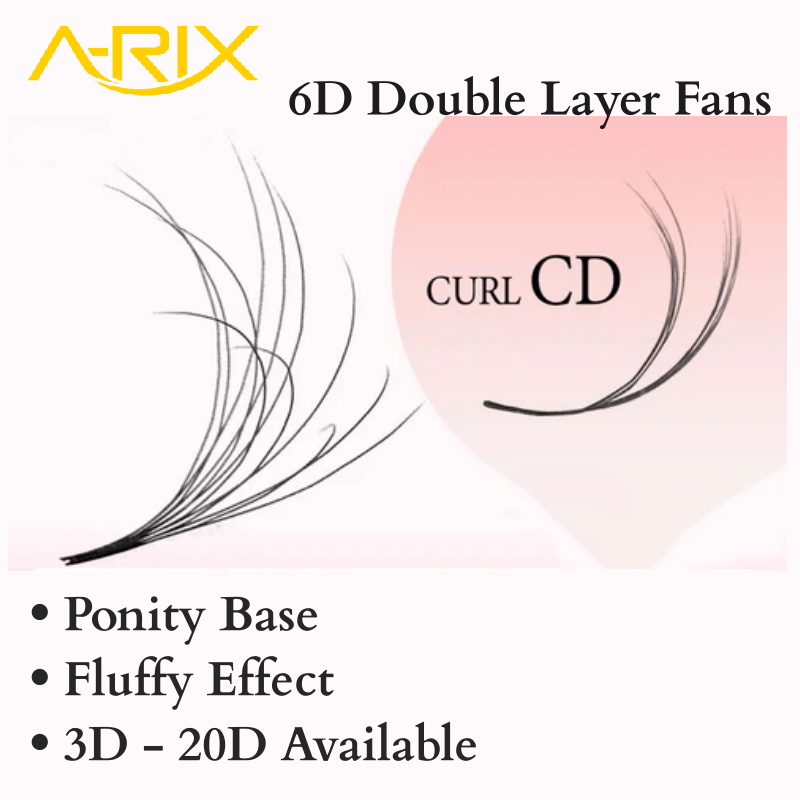
Individual ribbon lashes bring a distinct flair to eyelash extensions, offering a ribbon-like appearance that stands out from traditional lash styles. The process of creating your own allows for endless possibilities, enabling you to tailor the length, color, and pattern to match your individual style.
Individual ribbon lashes introduce a unique and eye-catching element to the world of eyelash extensions, diverging from conventional styles to showcase a ribbon-like aesthetic. Delving into the process of crafting your own individual ribbon lashes not only opens the door to limitless creative possibilities but also empowers you to finely tune the length, color, and pattern, resulting in a bespoke lash style that mirrors your individuality.
Unlike traditional lash styles, individual ribbon lashes stand out with their ribbon-like allure. This distinctive flair adds a touch of whimsy and elegance to your eyes, making a bold statement in the realm of eyelash extensions.
The beauty of crafting your own individual ribbon lashes lies in the boundless creative freedom it offers. From selecting the perfect ribbon material to determining the ideal length and exploring a spectrum of colors and patterns, every step is an opportunity to infuse your unique style into the lashes.
Length: You have the liberty to decide the length of each ribbon, allowing for a customized lash appearance that complements your eye shape and personal preference.
Color Palette: Explore an array of colors to match your mood, outfit, or any special occasion. Whether you opt for vibrant hues or subtle tones, the choice is entirely yours.
Pattern Play: Experiment with patterns to create a visually striking effect. Whether it's a uniform pattern, an ombre blend, or a mix of textures, you have the flexibility to design a look that resonates with your style.
The process of crafting individual ribbon lashes transcends traditional beauty norms, providing a canvas for self-expression. Embrace the opportunity to design lashes that reflect your personality and make a statement. The fusion of creativity and individuality in this eyelash art form allows you to curate a style that is exclusively yours.
In the realm of eyelash extensions, individual ribbon lashes serve as an enchanting and personalized accessory, elevating your gaze and making every blink a showcase of your distinctive style.
Materials You'll Need
Ribbon Material
Selection Criteria: Choose a ribbon that aligns with your vision for the final look. Consider factors such as color, texture, and width.
Color: Pick a color that complements your eye color or matches the theme you have in mind.
Texture: Explore various textures, from satin to organza, to achieve the desired visual effect.
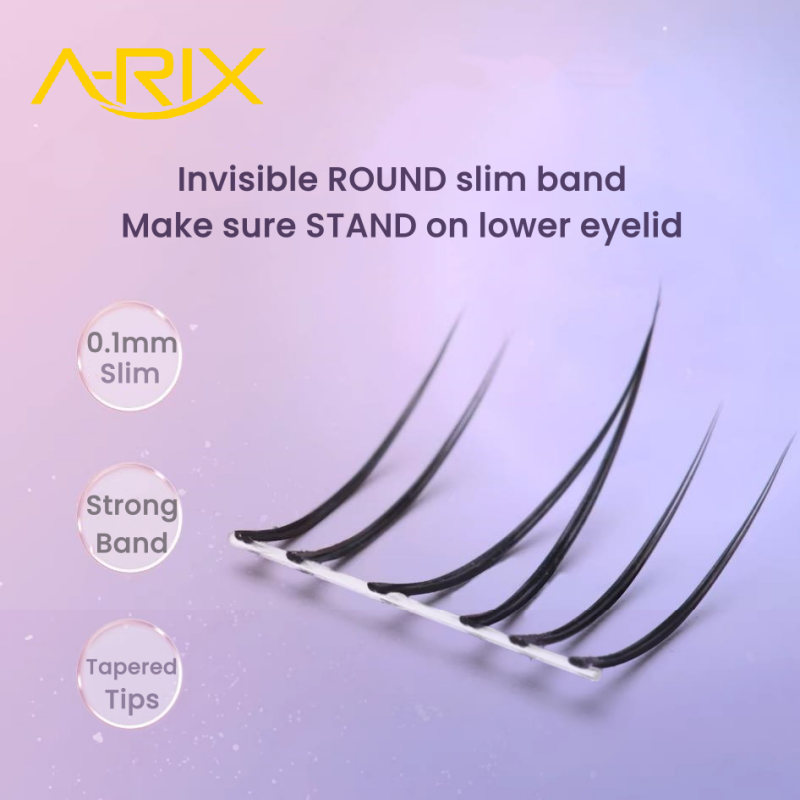
Width: The width of the ribbon determines the prominence of the ribbon effect on your lashes. Select a width that suits your style.
Individual Lash Clusters:
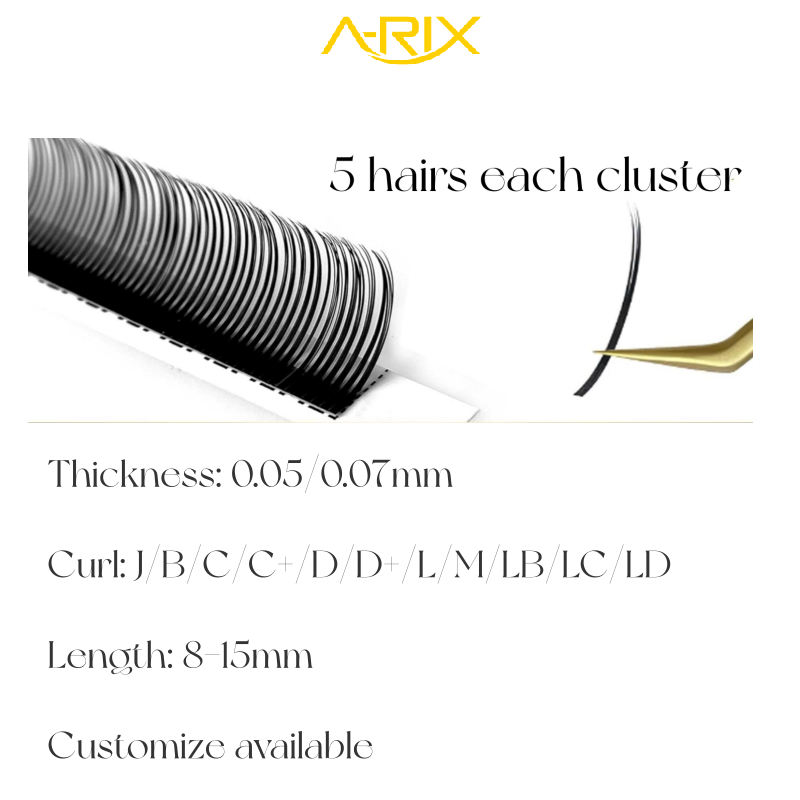
Length and Thickness: Opt for individual lash clusters that harmonize with the length and thickness you envision for your final lash design.
Material: Ensure the lash clusters are made from a comfortable and lightweight material, promoting a natural feel when applied.
Eyelash Glue:
Quality: Choose a high-quality eyelash glue specifically designed for use with the chosen ribbon material. Look for a glue that offers a secure bond while being gentle on your natural lashes.
Drying Time: Consider the drying time of the glue to allow for precise placement and adjustments during the application process.
Scissors and Tweezers:
Scissors: Use sharp, precision scissors for accurate cutting of the ribbon. This ensures clean edges and a polished final look.
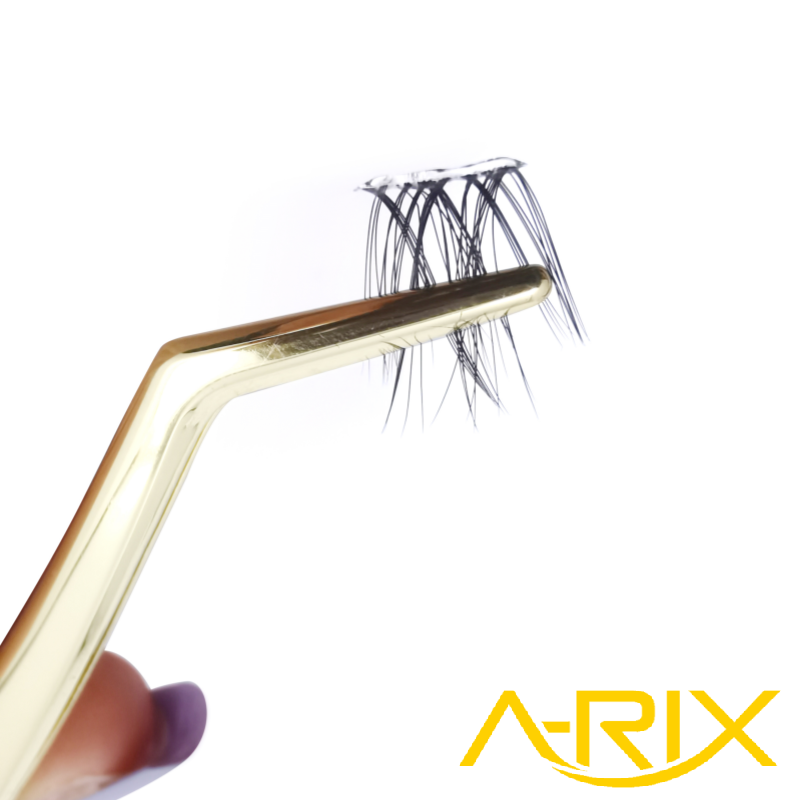
Tweezers: Fine-tipped tweezers are essential for the meticulous placement of individual lash clusters onto the ribbon. The tweezers aid in achieving a seamless and even application.
Step-by-Step Guide to Creating DIY individual ribbon lashes:
1. Prepare Your Workspace:
Set up a dedicated and clean workspace with all your materials within easy reach.
Ensure proper lighting for precise cutting and application.
2. Cutting the Ribbon:
Measure the ribbon to the desired length for your individual lashes.
Use sharp scissors to cut the ribbon segments with precision.
Aim for uniformity in length to achieve a polished and cohesive look.
3. Attaching the Ribbon to Lash Clusters:
Apply a small amount of high-quality eyelash glue to the surface of the ribbon.
Carefully press individual lash clusters onto the glued areas of the ribbon.
Ensure even spacing between lash clusters for a seamless and natural appearance.
4. Allowing for Drying Time:
Allow the glued lash clusters to dry completely before proceeding to the next steps.
Drying time ensures a secure bond between the ribbon and individual lash clusters.
5. Trimming for Customization:
Once dry, inspect the ribbon and lashes for any excess or uneven portions.
Use sharp scissors to trim the ribbon and lashes to your preferred shape and length.
This step allows for customization, ensuring the lashes suit your eye shape and desired style.
6. Application to Natural Lashes:
Using fine-tipped tweezers, carefully apply the DIY ribbon lashes to your natural lashes.
Focus on achieving an even distribution along the lash line for a natural-looking curve.
Take your time during this step to ensure precision in placement.
Additional Tips:
Work with patience and attention to detail for the best results.
Keep a steady hand during the application process for even spacing and alignment.
Adjust the placement as needed to achieve your desired lash look.
Consider experimenting with different ribbon colors, textures, and lash lengths for varied styles.
By following this step-by-step guide, you'll master the art of creating DIY individual ribbon lashes, allowing you to express your unique style through this personalized eyelash extension technique.
Maintaining Your DIY Ribbon Lashes:
Gentle Removal:
When it comes time to remove your DIY ribbon lashes, it's crucial to prioritize the health of your natural lashes. Follow these steps for a gentle removal process:
Use a lash-friendly makeup remover or micellar water to loosen the adhesive.
Hold the ribbon close to the base and gently pull it away from your natural lashes.
If you encounter resistance, apply more remover to further dissolve the adhesive.
Cleaning and Storage:
Proper cleaning and storage practices are essential to prolong the life of your DIY ribbon lashes and maintain their shape and appearance.
Cleaning:
Dampen a cotton swab or pad with a mild, oil-free makeup remover.
Gently wipe along the ribbon and lash clusters to remove any residual glue and makeup.
Take care not to saturate the ribbon to prevent damage.
Storing:
Find a small, clean container or lash case to store your DIY ribbon lashes.
Place the lashes in the container, ensuring they maintain their shape and curvature.
Store in a cool, dry place to prevent any moisture-related damage.
Additional Tips:
Avoid Waterproof Makeup: If you choose to wear eye makeup, opt for non-waterproof formulas to simplify the cleaning process.
Be Mindful of Glue Residue: During cleaning, pay special attention to areas with adhesive residue. Gently remove any remnants for a cleaner appearance.
Rotate Usage: If you have multiple sets of DIY ribbon lashes, consider rotating their usage. This allows each set to "rest" between wears, prolonging their lifespan.
By incorporating these maintenance practices into your routine, you'll ensure that your DIY ribbon lashes remain in optimal condition, allowing for multiple uses and a consistently stunning look.
Express Your Unique Style:
With your own DIY individual ribbon lashes, you have the freedom to experiment with colors, lengths, and patterns, allowing you to express your unique style with glamour and confidence. Unleash your creativity and elevate your eye game with this personalized approach to eyelash extensions.