Step 1. Preparation:
Make sure the work area is clean and tidy, and prepare the necessary eyelash extension tools, including eyelash blades, special glue, tweezers, etc.
Step 2. Cleaning Eyelashes:
First, thoroughly clean the client's eyes and eyelashes with a mild oil-free eye makeup remover or special lotion, making sure that the surface of the eyelashes is free of oil and residue.
Step 3. Pick up the lashes
Picking up Easy Fanning Lashes NOT too far from the lash roots or must cause separation of the individual lashes.
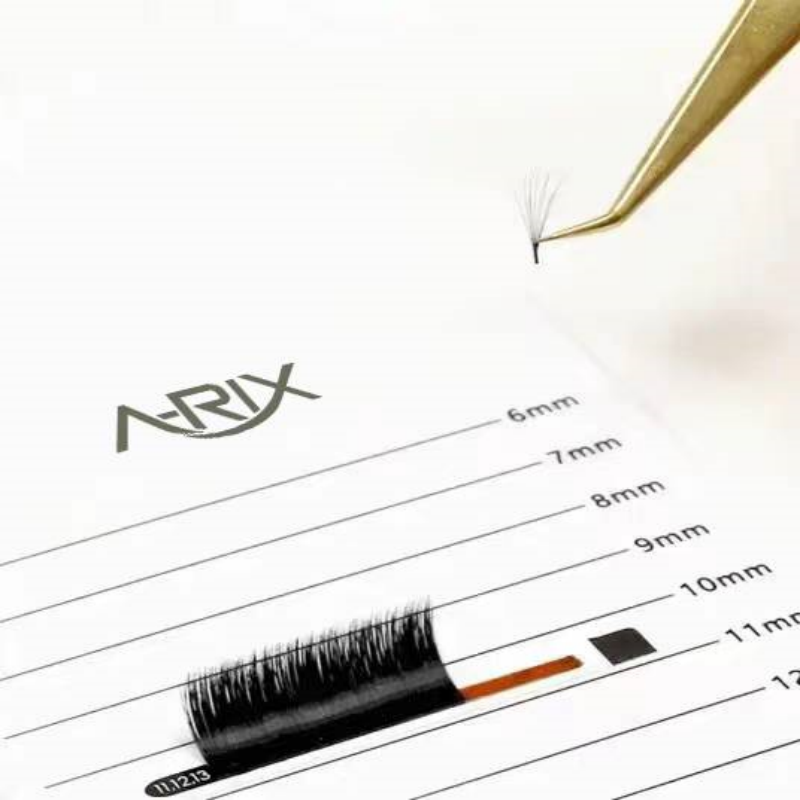
Step 4. Lay the lashes on the sticky strip
Make sure that you align them with the bottom of the lash strip.
Step 5. Reattach the lashes
Do not reattach the lashes too low. The upper part of the lashes will get stuck in the sticky strip, and the fan will not open up.
Do not reattach the lashes too high up. They will move too much, and it will be hard to wiggle out the fan.
Step 6. Make a fan
Gently press and wiggle to open the fan.
Do not wiggle the root of the lashes. The fan is likely to get separated and the adhesive from the Easy Fanning lashes will make your tweezers sticky.
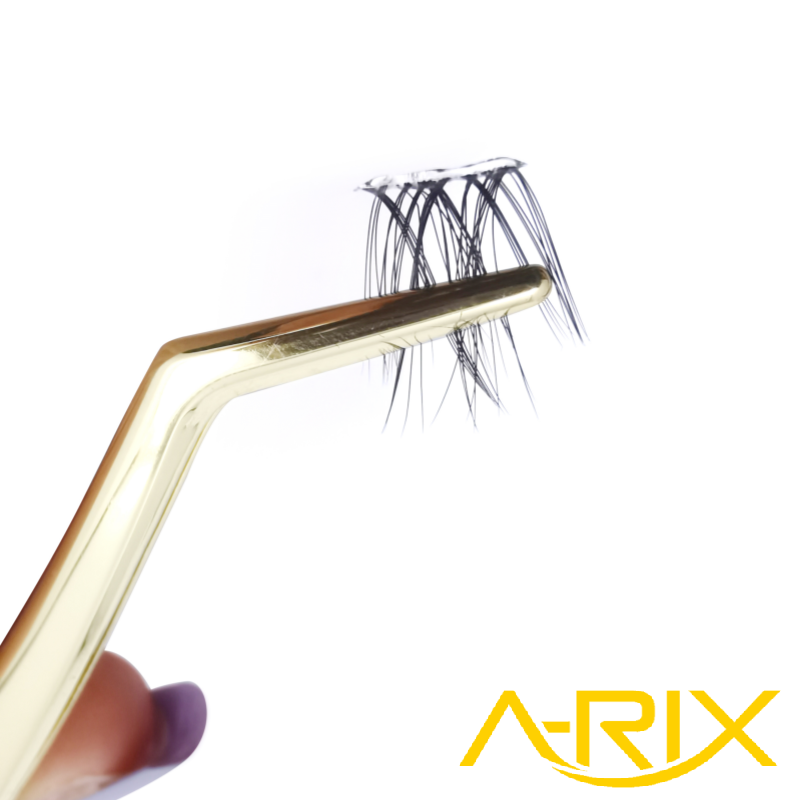
Step 7. Pick up the fanned lashes
Step 8. Applying the glue
Using a professional eyelash extension glue, take the lashes one by one and carefully apply to the client's natural lashes. Make sure there is no visible gap between the lash sheet and the natural lashes to achieve a natural, three-dimensional effect.
Step 9. Placement of Lash Sheets
Use tweezers to precisely place the lash sheets on the natural lashes and arrange them in the shape of petals. Take care to keep the spacing and shape between the lash pieces even for a more natural look.
Apply sealing agent: use special sealing agent or apply glue to strengthen the combination of eyelash pieces and natural eyelashes, and ensure the long-lasting and stable extension effect.
Step 10. Trimming and Finishing
According to the client's needs and personal eye shape, the length of the lashes is trimmed to blend with the natural lashes. Then, use the mascara brush to gently comb lashes for a natural, voluminous finish.
Step 11. Perform a final inspection
After you have completed your lash extensions, perform a final inspection to ensure that each lash piece is properly seated and free of obvious defects. And provide customers with advice on the care and maintenance of eyelashes after extension.
At A-RIX, we have 3 styles of Easy Fanning Lashes that can be used to achieve different lash looks.
Easy Fanning camellia lashes:
Easy Fanning camellia lashes are composed of 3 lengths in each strip of individual lashes on each strip, which provides a natural, yet voluminous look.

Easy Fanning Brown camellia lashes:
They are also composed of 3 lengths in each strip, and they are a fantastic choice for customers who want soft-looking volume lashes and customers with lighter color lashes.

Easy Fanning volume lashes:
In comparison to Easy Fanning camellia lash, a strip of Easy Fanning volume lashes contains lashes of a single length, creating a bold, show-stopping look with maximum fullness.