There’s a new competitor to professional lash extensions in town! Right or wrong ?
At first, You may be skeptical when first heard about DIY lash extensions. After all, applying lash extensions requires safety training, certification, and years of practice. How could DIY extensions be anywhere near as good?
After trying a couple of pairs for a few months,you will come to realize that DIY lashes aren’t a replacement for professional individual lashes since both have their own unique merits – some peoplewill appreciate the affordability of DIY extensions, while others will prefer the unmatched customization, natural-looking, and long-lasting effects individual lashes can offer.

What Are DIY Lash Extensions?
DIY lash extensions are false lashes that can be applied at home without the need for a professional. They come in pieces of synthetic eyelash fibers rather than as individual lashes, and they attach to the natural eyelashes with a semi-permanent adhesive that’s not nearly as strong as the adhesives used by professionals.
In that sense, I think they’re a lot more similar to false lashes (strip lashes) than they are to lash extensions.
That said, there are a few details that make them unique when compared to strip lashes:
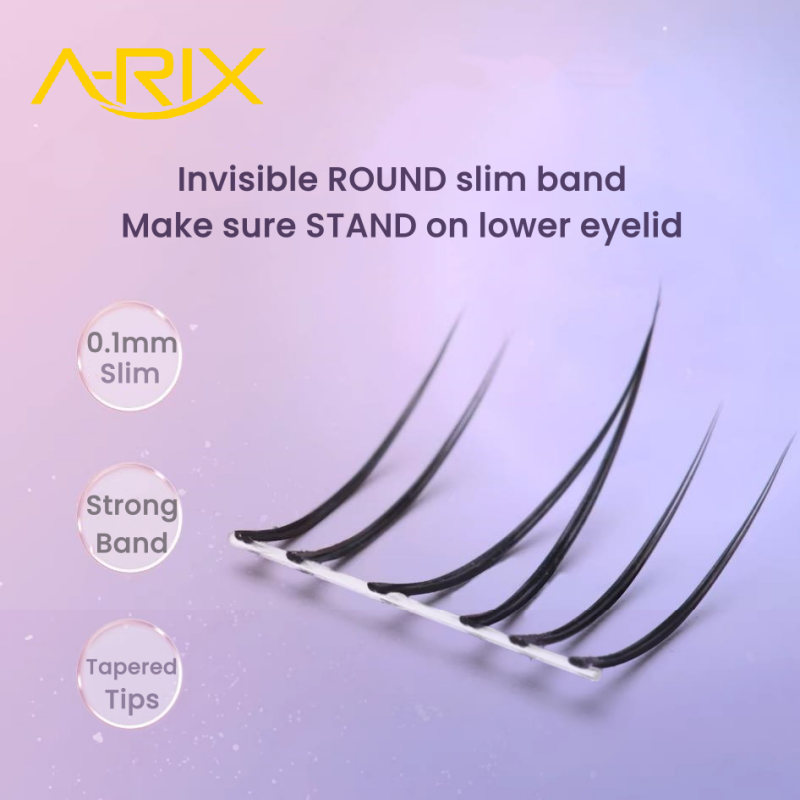
Almost all false lashes and extensions attach to the lashline from above, but DIY lash extensions attach from below. Also someone call them under-lash.
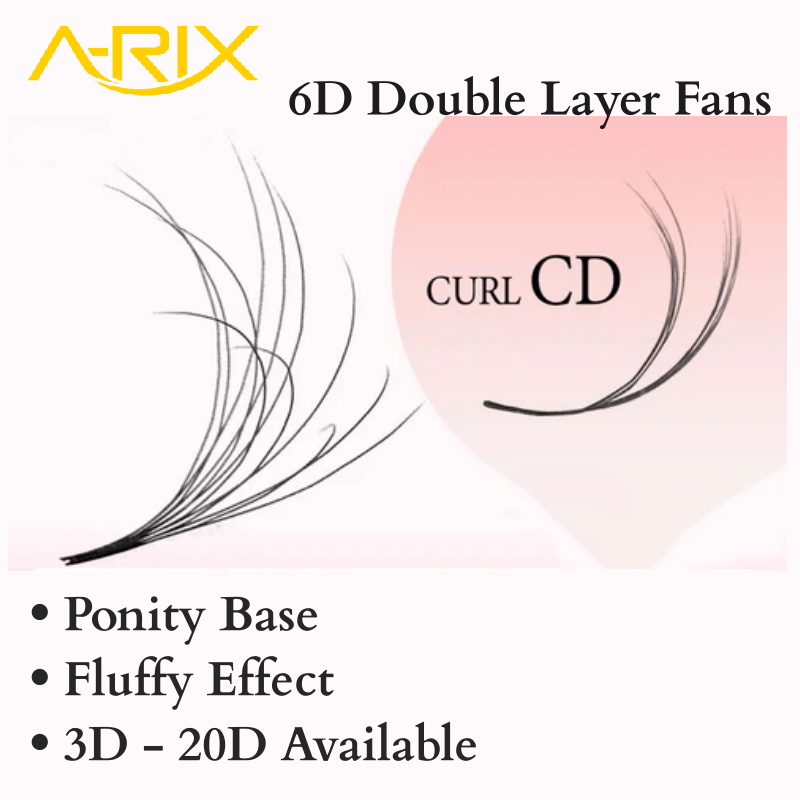
DIY lashes come in several short strips that will be applied to your lashes. On the other hand, strip lashes come in one single strip of false lashes. DIY eyelashes can be worn for several days before removing them.

How to Apply DIY Lash Extensions?
These are the general steps to apply most DIY lash kits. You may need to make a few small changes to your process depending on the kind of DIY lash extension system you’ve picked up (more on the best ones later).
1 Always start with clean skin, clean hands, and clean equipment
– You don’t want any surprised infection here.
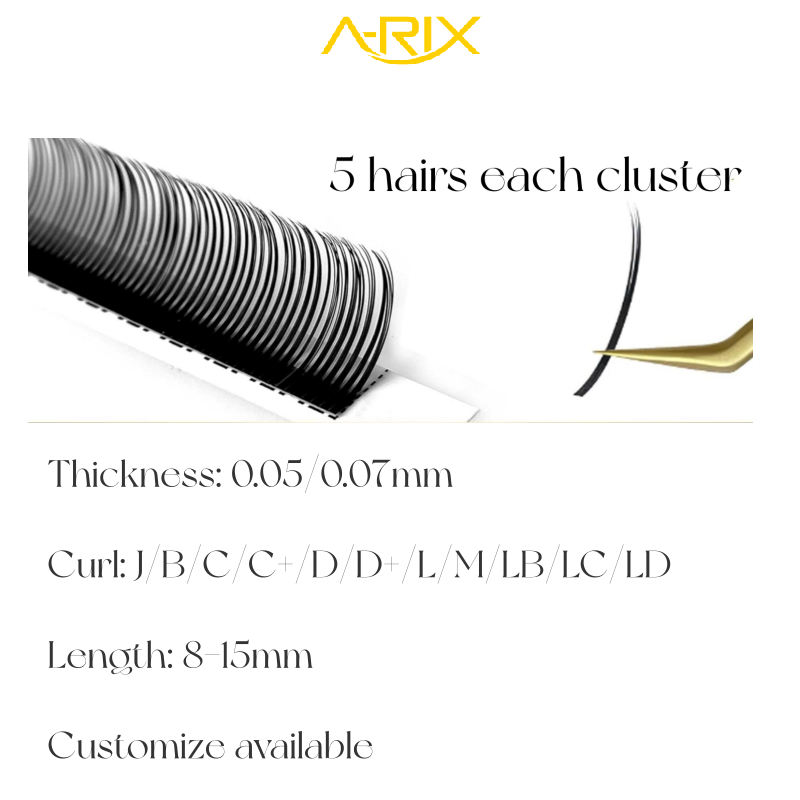
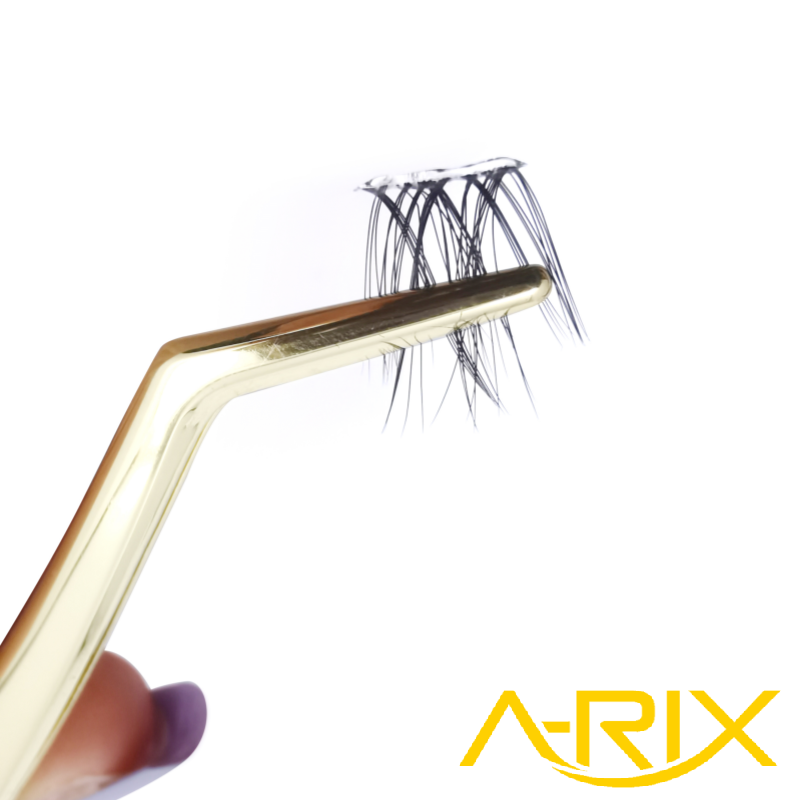
2 Carefully peel all of the DIY lash clusters away from the container
– there is a little tricky with some brands. Someone like to use my fingers for this step (not the tweezers) as they found it’s the best way to avoid damaging them in the process. Others like to use tweezers as an aid, which is easier.
3 Plan ahead what order you’ll apply the lashes in, especially when have lashes of varying lengths.
– This step is often referred to as “lash mapping”. I prefer a cat-eye look with the shorter strips on the inner corner of the eye and the longer ones near the outer corner.
4 Apply the lash adhesive
– This step is truly innovative. Most manufacturers supply a “lash bond” that is applied exactly like you would use mascara. It coats the eyelashes with adhesive. Now the trick is to wait 10-30 secondsfor the adhesive to become tacky. This will allow the lash strip to secure strongly.
5 Starting with the inner corner of the lash line
Pick up your first lash strip. Look downwards into a mirror, and carefully line the lash strip on your upper lashes, but coming from the bottom.
– This step is very different from other false lash applications. You want to apply the DIY lashes from below and not from above!
– Make sure to leave a 1-2 mm gap between the lash band and the base of your lash line.
I like to start from the inner corner since that allows me to “stack” the lash bands when I start reaching the outer corner (pro technique here).Apply the next strip so that it joins with the band at the base of the first strip. I generally avoid stacking the bands for my inner corner but as you move toward the outer corner, you can start stacking them a little for a more dense effect.
6 Repeat this with the last few strips until you’ve finished one eye, then move on to the next eye.

7 Once you’re done, use your fingers or tweezers to press the extensions and your natural lashes together
So they’re well-bonded and blend together nicely. You can hold them together for 5 seconds before releasing them.You can also apply a final “sealer” which many lash brands produce. These sealers can help get rid of tackiness from the lash adhesive.
Are DIY Lash Extensions Safe?
DIY lash extensions can be safe if you are very cautious when applying them. However, which links are prone to problems still need to be pointed out one by one.
Firstly, it’s incredibly important to keep things clean and hygienic during the entire application process.
Otherwise, you run the risk of introducing bacteria and mites very close to your eyes – even closer than with other types of lash extensions, since DIY lashes sit on the underside of your lashes and closer to your eyes.
Another major safety and lash health issue
I foresee with them is that they attach directly to multiple lashes at once. If you’re familiar with professional lash extension techniques, you know that’s abig no-no (we only apply an extension to one natural eyelash at a time – an extension is never supported by several natural lashes).
Because DIY lashes are attached to several natural lashes, my concern is that wearing them for more than a few days could interfere with the eyelash growth cycle. For example, an eyelash in the anagen phase might pull on an eyelash in the telogen phase if they’re both bound to the same false lash strip.

Lash glue
lash glue is a bridge between the false lashes and our natural lashes. They are liquid and volatile more possible to contact eyes. So, to avoid eye infections and other problems, use high-quality glue. If you can't tell which is the high-quality glue, then choose the glue of a well-known brand, because these brands will do a lot of testing before launching new products, which is definitely better than ordinary glue.
Additionally, the lash phase
Your follicles won’t be able to shed lashes that are ready to fall off, and therefore you won’t be able to grow new ones healthily. Plus, even with regular cleaning, some debris is still going to collect in the space between the extensions and your lashes, and it won’t be as easy to clean as with individual extensions.
I don’t think it’s not a big deal if you’re wearing the lashes for two or three days, but some brands claim you can wear the DIY extensions for over a week, which is definitely going to be problematic, especially with regular wear.

How Long Do DIY Lash Extensions Last?
DIY lash extensions can stay put for a long time, but just because they can doesn’t mean they should.
If you want to keep your natural lashes healthy, I highly recommend you avoid wearing them for longer than 3 days in a row, even if brands promise one or two weeks of wear. As I mentioned above, I think it’s irresponsible of brands to advertise such long wear times, especially without robust evidence to prove these extensions won’t cause eye problems or lash loss.
Are DIY Lashes rewearable?
You can reuse the lash bands themselves, but not all of them is reuseable most of the lashes I were pretty delicate, so probably no more than once or twice. Of course, you should make sure to sanitize and store them in a clean container before reusing them.
Can You Sleep With DIY Lash Extensions?
Yes, and that’s one of their major benefits. If you sleep with your face pressed into the pillow (which I did one night while wearing them), you’ll probably lose a band or two, so I recommend sleeping on your back.

Pros and Cons
There’s no denying that DIY eyelash extensions have appealing benefits. Having said that, there are drawbacks you must know before you give them a try.
Pros
Multi-day results:
With just one application you can enjoy a few days of glamorous lashes.
Affordable:
They cost about the same as strip lashes. There are some high-end options, but they’re pretty affordable for the most part.
Balanced versatility:
The cluster format allows you to partially customize your lash map with different lengths and densities. It’s not the same level of versatility as using individual lashes, but it’s a good balance between customizability and ease of use.
Seamless:
One unique benefit of the “lashes from below” technique is that you don’t have a visible band showing above your lashes.
I found that with a bit of practice, these lashes looked very seamless.

Cons
Very new:
Strip lashes and individual lash extensions have withstood the test of time, so we know how to use them safely. We don’t have as much evidence with DIY extensions.
Pressure on lashes:
DIY lash clusters are light but not weightless. They put a bit of pressure from below the natural lashes, pulling them downwards just a bit.
Risky if worn for too long:
Again, this is partially an issue with how new they are. We don’t have evidence that multi-day wear is safe, and I think that wearing this type of extension for more than three days could lead to lash loss.
Not very compatible with makeup and skincare:
They don’t play well with oil-based skincare, makeup products, or makeup removers.
Take practice:
Even with steady hands and a ton of experience, it still took a few tries to feel like I got the hang of applying them.